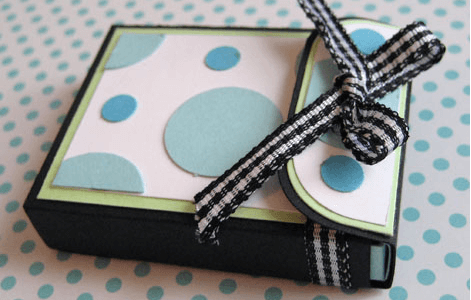
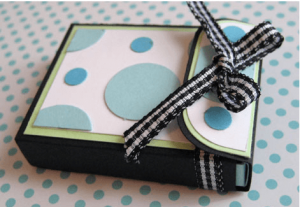
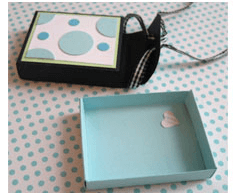
Make your adorable matchboxes in two different styles.
Be sure to scour your stash for some fun papers to make these cute matchboxes. Ready to be stuffed with a little gift or small card or both, these will delight anyone who receives one.
Here are the instructions for the blue and black box featured here:
Here are the basic instructions which are also printed on the template:
-
Print out template on card stock at 100%. Do not “fit to paper size†or your matchbox will not be the correct size.
-
Cut along all black lines; score and fold along all grey lines.
-
Apply glue to the light grey areas of the inside drawer.
-
Fold the sides of the inside drawer in on themselves (they will be end up being double thick) while tucking the tabs into the folds of the shorter sides of the drawer.
-
Fold the outside wrap around the inside drawer while folding in its bottom and tucking in the tabs. (I suggest test folding the outer wrap around the inner drawer at first, then removing the inside drawer and doing the final fold with glue. This fold is a little tricky as you must tuck in the tabs and the final side.) Glue it in place.
-
The flap on the right side of the outside wrap template is the matchbox’s envelope closure. Fold it over the top of the box and secure it with a seal or ribbon.
-
Decorate your matchbox!
Be sure to click on this link and head over to grab your Free Templates to Make this Matchbox and also instructions for another one. Â Click here!
Happy Scrapping
Team Scrapbooking Daily
Photo Source: blog.Swap-Bot
Resource: blog.Swap-Bot


